Tuesday, December 8, 2015

Diwali


Oh Diwali, the festival of lights! What an amazing and colorful celebration to study about in art class! Starting mid October right up through December, my PYP 2 students have been inquiring into celebrations around the world, their central idea being, "People recognize important events through celebrations and traditions." We investigated this by comparing and contrasting a variety of cultural celebrations around the globe.

In the middle of November we began discussing Diwali and the beautiful Rangoli that is created during this holiday. We watched videos of how Rangoli is made with colorful sand to make amazing symmetrical patterns and designs.

 After videos and class discussion, each student was given a paper plate to create a a symmetrical pattern of their choice. When their drawing was completed and outlined with a permanent marker, the best part began! The students sprinkled "colorful sand" (glitter!) inside their designs with glue. They were careful to make sure their colors were the same on all sides, following their patterns.


We made a wonderful mess and their final Rangoli turned out fantastic!


After our glittery creations were complete, we began discussing clay vocabulary and how to make a pinch pot. Along with new vocabulary the students were also introduced to Diya, the candles or small oil lamps that are part of the festival of lights. After viewing and discussing a variety of photos, the students set off making their own Diya. Once their clay was fired, they painted them with fluorescent colors! 


Library Mural


Our school library mural is complete! I am so excited to share what my after school art club has been up to since the beginning of the term.

Last year the school library was in need of some love, so our parent community volunteered their time and created some wonderful decor to make our library more inviting for our students. One such decoration was a paper mache tree with hand sewn leaves (as seen above). The students loved it and were wanting to add some of their own ideas too. I thought it would be a great opportunity for them to share their creativity with the whole school!

We started the ball rolling by voting on a theme. The students decided they wanted to create a jungle scene that would match the tree that had been created previously. Each student drew an animal or plant that they wanted to add to the mural and planned out the colors they wanted to use.


Once their designs were complete, we scanned the images and used Photoshop to create one complete scene by duplicating and re-sizing the student's drawings. The finished jungle images were then printed out and the students labeled the colors appropriately. 


After colors were planned, the final scenes were projected on the wall so the students could trace their drawings on a larger scale. 


The tracing did not take much time at all and then the best part could begin- paint! We started by painting the large area of background first as seen below:


When the background was finished, the students began painting the animal or plant they had designed. 


The final step was outlining to give the scene a more finished look. The students are very proud of their work and were excited to see their vision come to life. I couldn't be a happier art teacher!!

Tuesday, December 1, 2015

Illuminated Manuscripts

My middle school students have been researching about and designing their own illuminated manuscripts for the past few weeks. Here is how we went about completing this unit:

Inquiry Questions:  What innovations in manuscript formats have changed over time? Can individual and cultural identity can be represented in manuscript form? Are illuminated manuscripts archaic and dated, do they still have a place in the contemporary world?

The students were first introduced to illuminated manuscripts through a little background history before they began their own research within their process journals guided by the above inquiry questions. After research, discussion, and comparing/contrasting a variety of illustrated letters, students chose one letter from their name and designed it in four different ways. They were encouraged to think of personal interests as inspiration for their designs.


 When the four letters were complete the students watched and discussed the animated movie Secret of the Kells. They really enjoyed the movie and it was a perfect link with what we were discussing in class! Plus, the imagery within the film is simply beautiful! (I suggest you check it out!) We talked about the elements of art and principles of design in specific frames during the movie which led to great inspiration for our final designs.
The students first did a draft of their final, choosing one design from their four smaller drawings and also including a border. 


We practiced a variety of mark making techniques with watercolor, colored pencil, and other materials before starting and planning out the summative task.


Once the first draft and material practice were complete, the students set off on their final designs! 


Sunday, November 29, 2015

Native American Totem Poles

At the beginning of the year my class of PYP 5 students began by discussing the elements of art and reviewing art terms like "symmetry" while listing them in their classroom sketchbooks. While talking about the importance of the art elements, I intrdoduced the students to Native American totem poles and Native American culture.

The students had many questions about the different figures and symbols they saw on the totem poles that we were viewing, so we took these inquiries and researched them in the library. During our next class session we reviewed their discoveries and discussed how the different figures carved into the totem poles are part of an important story.

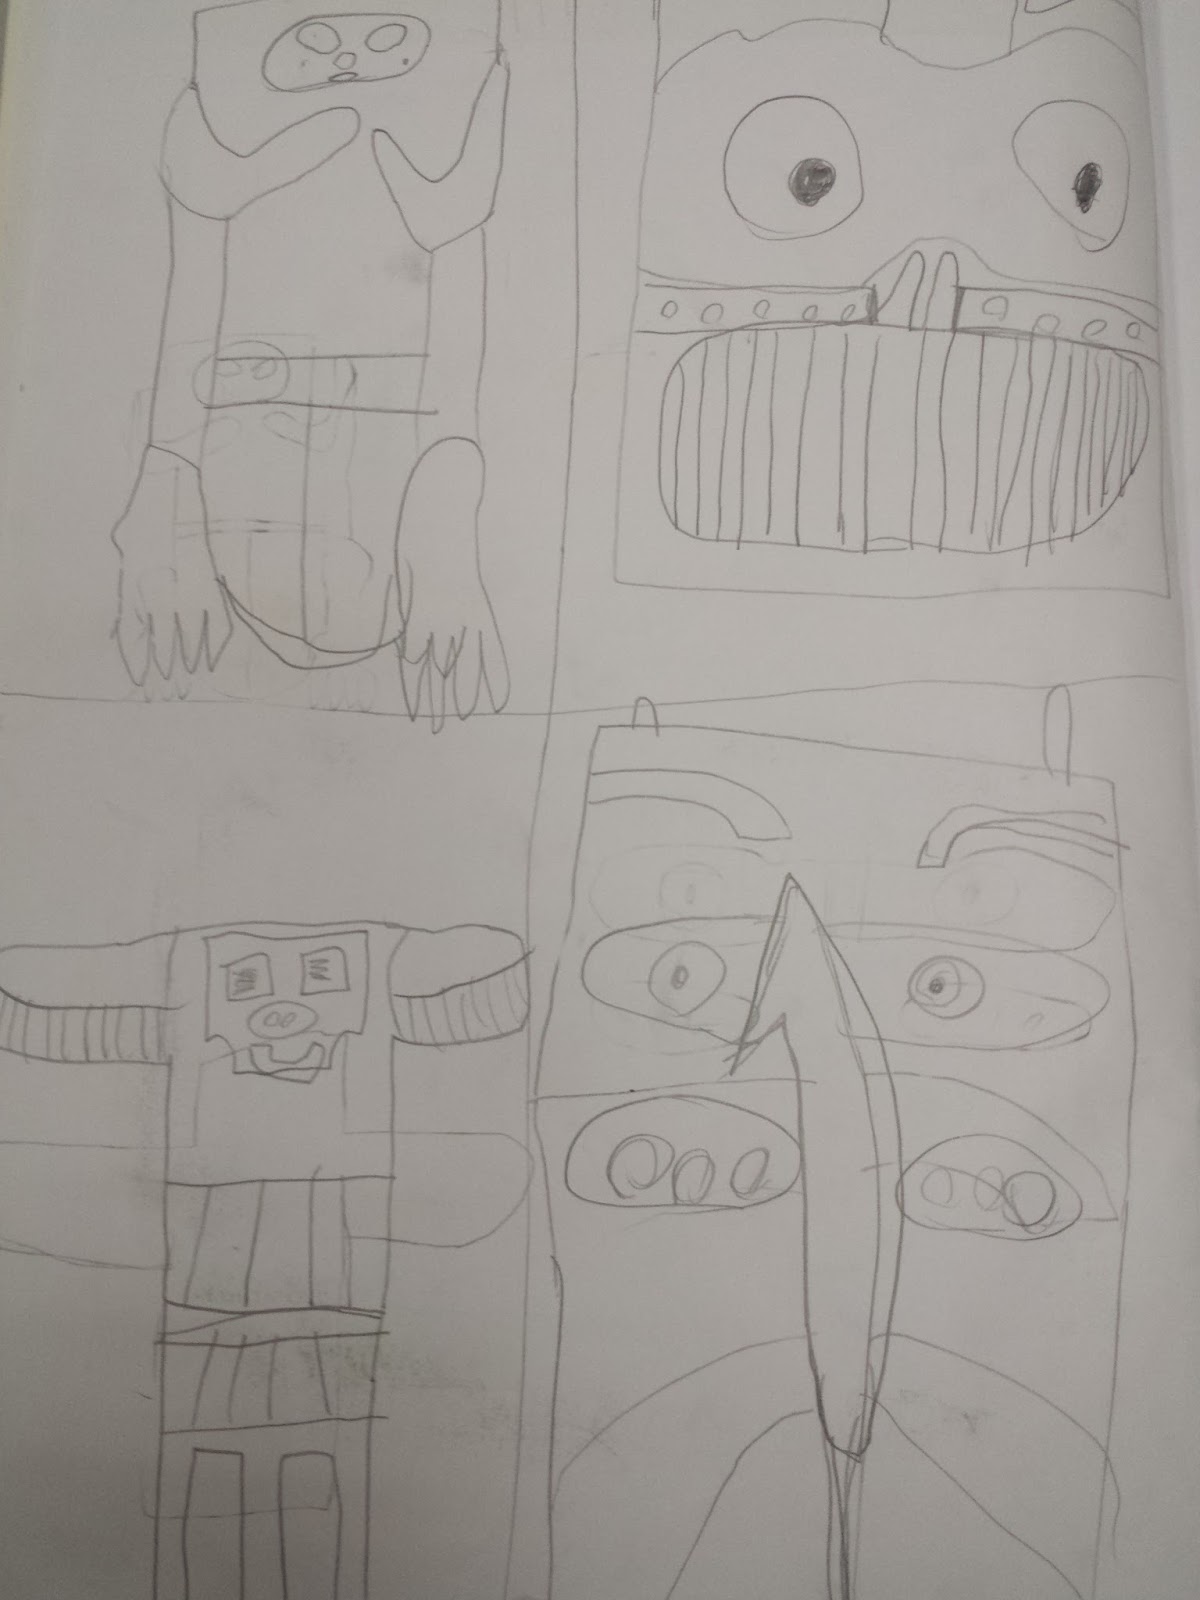
After research and review the students drew four different totem designs in their sketchbooks. They chose their favorite design and developed it further by adding more details and color. The students also labeled how they used the elements of art in their final design.


  I love how this student used simple geometric shapes and how giant the teeth are! The students were encouraged to draw LARGE. 


Once their final designs were complete the students began constructing a three dimensional box out of sturdy packing paper. They measured and cut their boxes themselves and then decorated them according to their sketchbook design. 


 Before we stacked our class totem poles together and put them on display, the students wrote a story about their totem pole figure and why it was an important piece to our art class totem pole. The students shared their stories as a group and everyone had come up with something unique!

Here are our finished totem poles on display!